
Replacing a Cast Hatch Actuator or Escape Handle


You have purchased a premium Freeman product.
Proper installation and maintenance will insure years of service.
These instructions are for the replacement installation of a Freeman Marine supplied actuator or escape handle into a Freeman Marine cast hatch.
|
Items needed to complete this job |
|
The required knurl pin has been supplied.
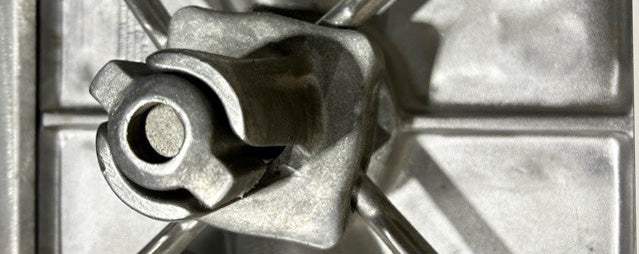
- Fully support the center shaft of the hatch on a sturdy work surface. Using a ¼” punch, drive the pin out of the actuator on the bottom of the shaft. The knurled end should be the first end out.
- Remove actuator from shaft.
- Coat the knurl pin with Tef-Gel or other suitable lubricant.
- Slide the replacement actuator or escape handle onto the shaft with the handle arms pointed down.
- Align the hole in the shaft with the hole in the actuator or handle.
- Again, carefully support the center shaft while driving the new knurl pin into the actuator or escape handle.
- Drive the knurl pin into the hole - SMOOTH END FIRST.